

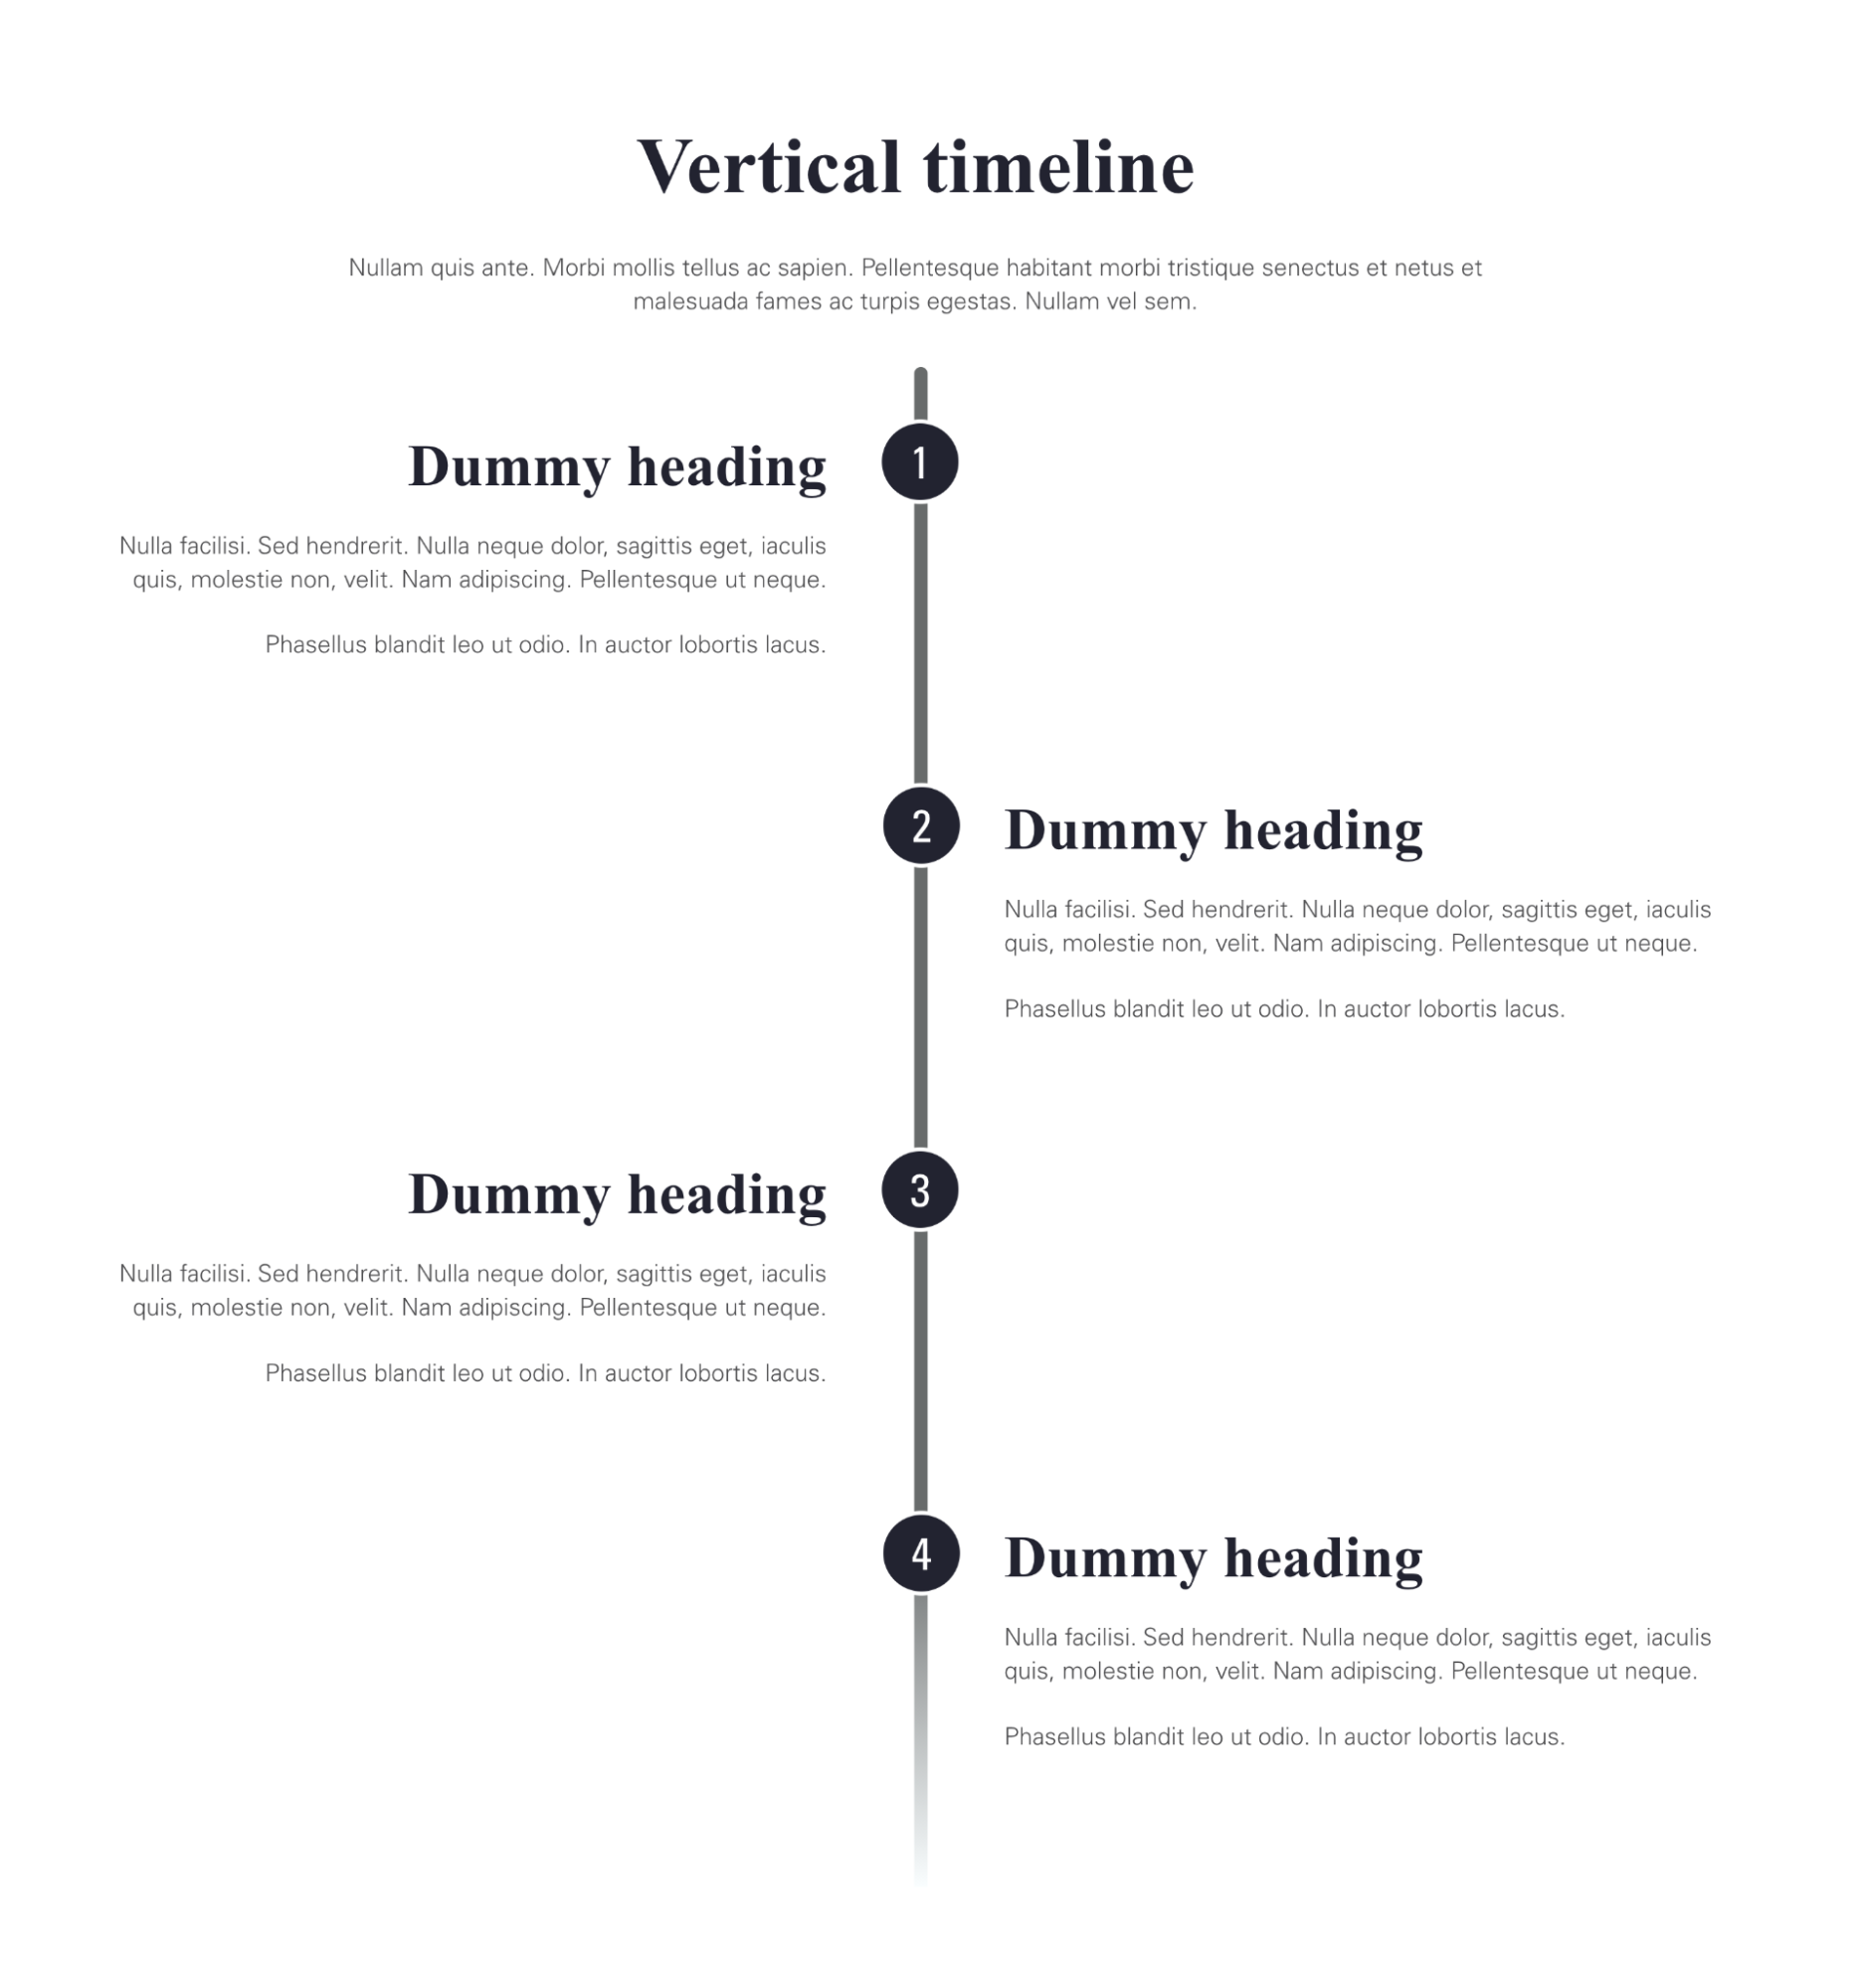
Using a vertical timeline is one of the best methods to display information over a period of time. With the help of it, you can easily share your information with others. As a use-case, you can state the history of politics, famous people, company profile and personally easily etc.
Let's explore how to create a vertical timeline in Site Studio containing a heading, description at the top, and place any Site Studio component as content to the left and right side with auto-increment serial number in the middle. Here's an example:
To achieve the above timeline we need to create two Site Studio components:
- Timeline
- Timeline item
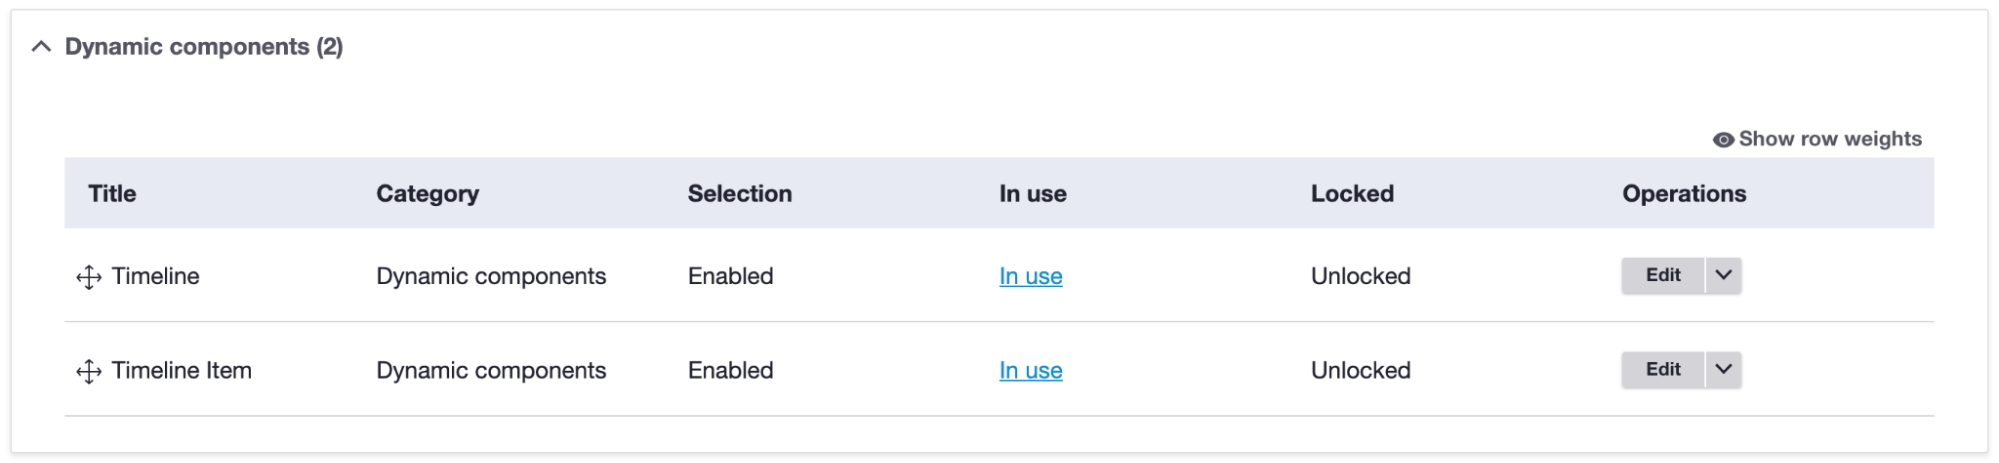
By navigating Site Studio > Components > Components > + Add components (admin/cohesion/components/components)
Timeline: This will act as a container component and the site manager/content editor can drop timeline items inside. This will have the following things,
- Timeline heading
- Timeline description
- Component dropzone for timeline item
- Select padding - Top and Bottom from Layout & style tab
- Help text (if needed)
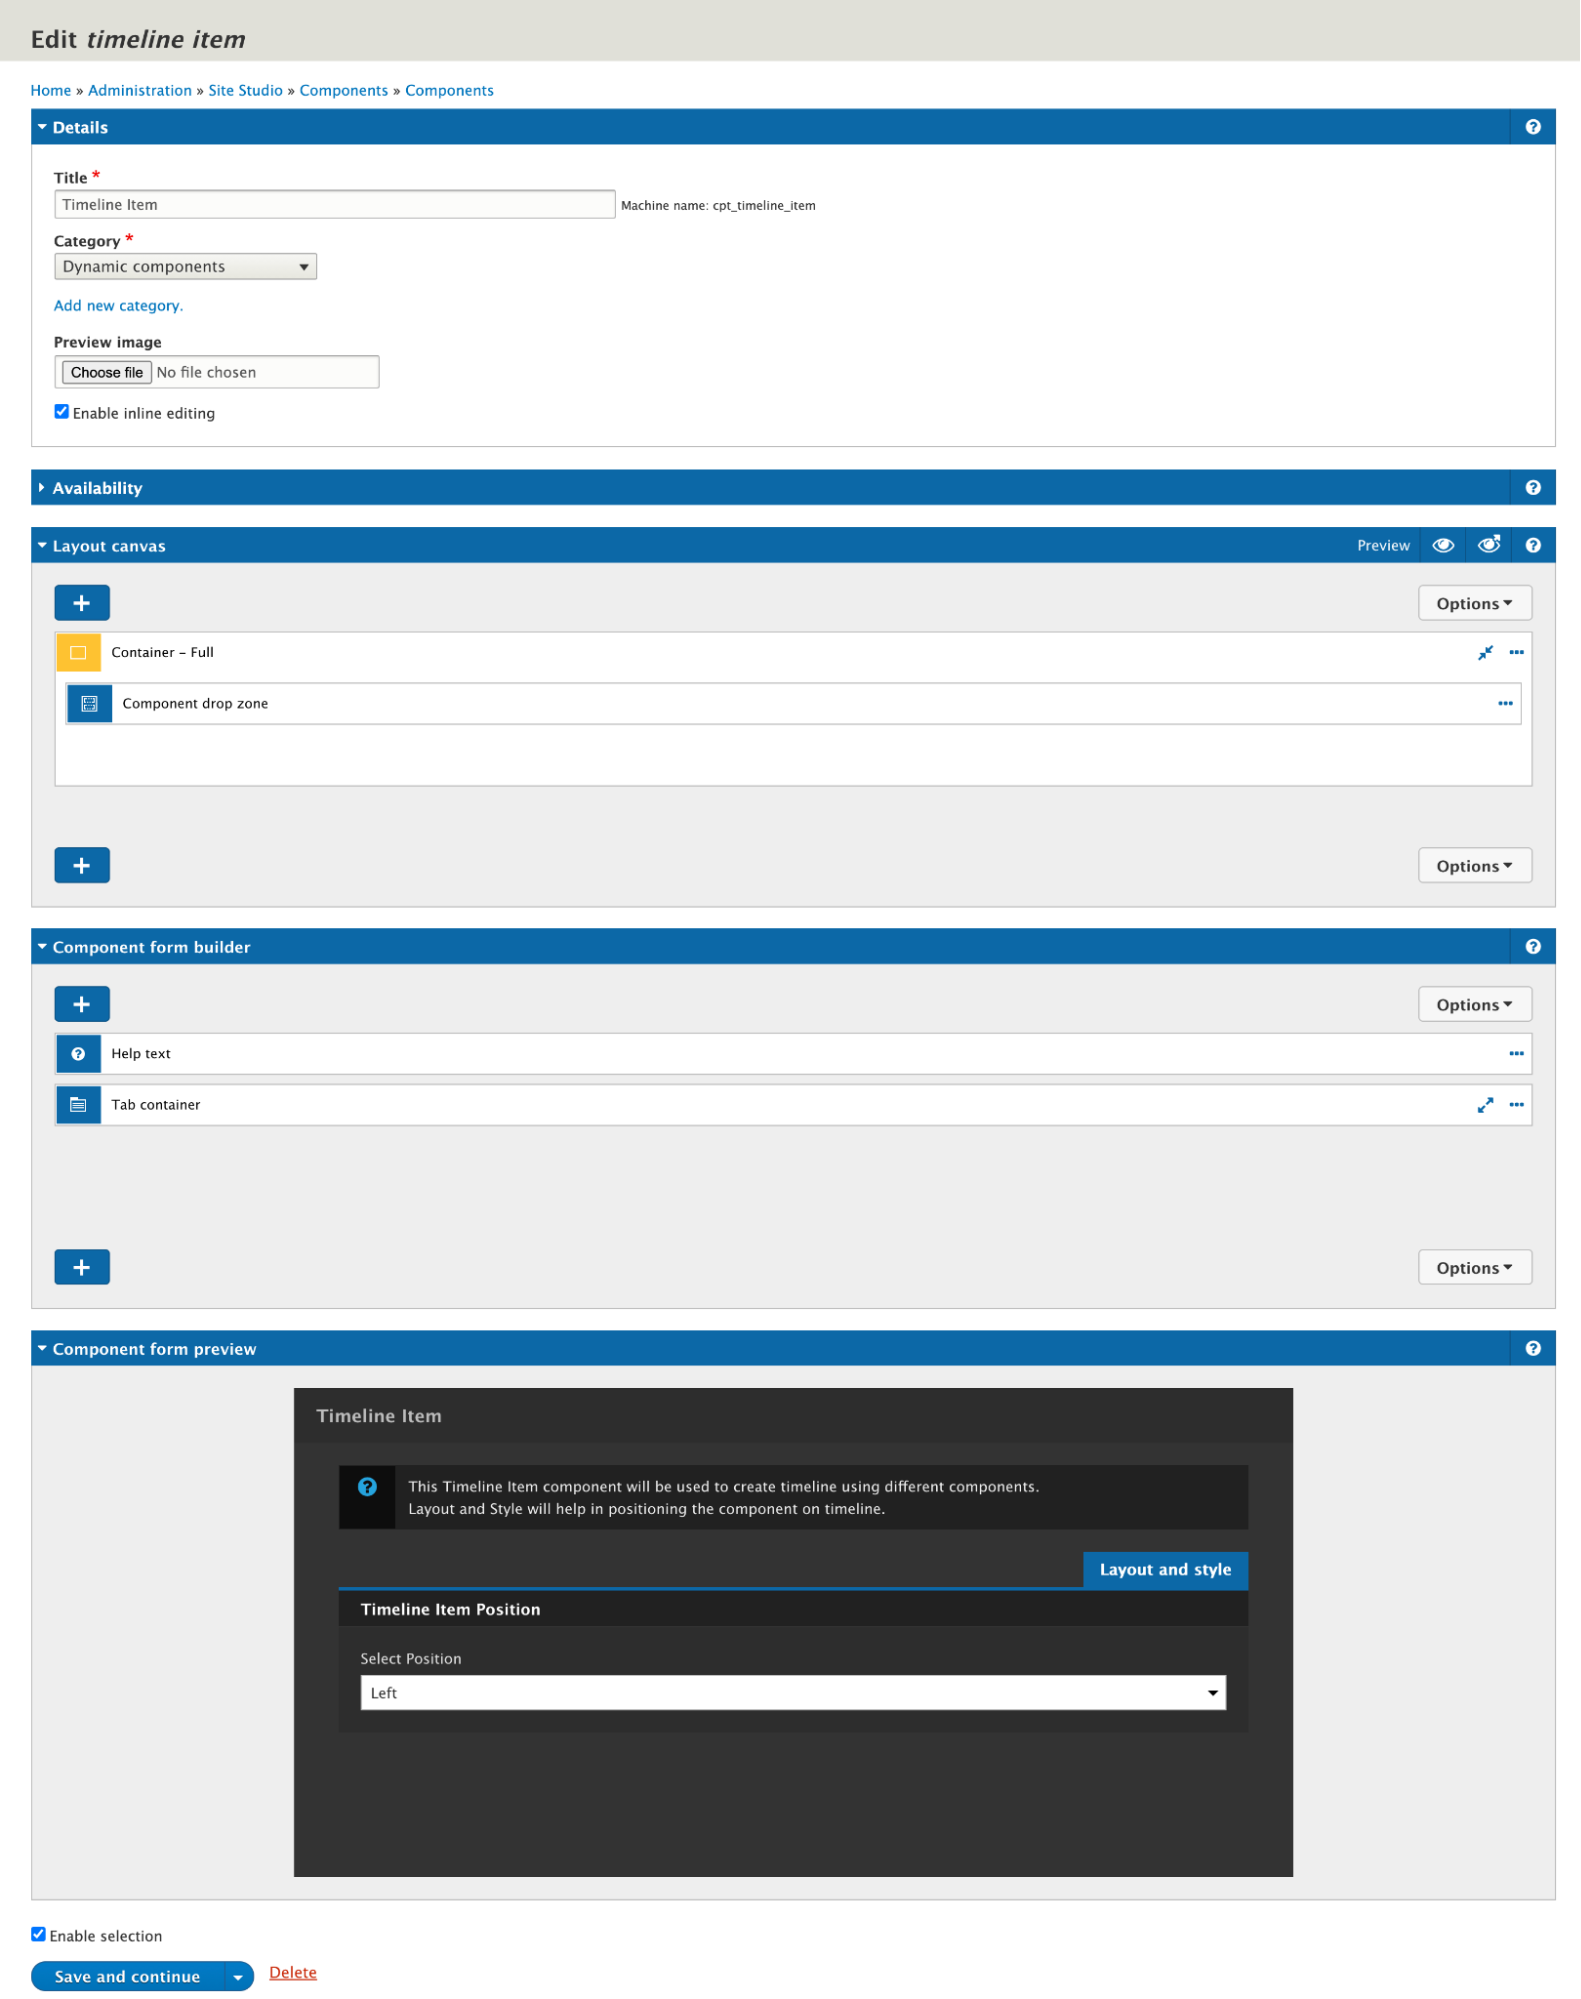
Timeline item: This will act as a single item component and the site manager/content editor can drop/add multiple items. Site managers can also set timeline item positions as per requirement on the left or right side of the middle bar. This will have the following things,
- Component dropzone for Site Studio component
- Option to set timeline item position (Left or Right)
- Help text (if needed)
When we build Timeline it will look like:

When we build the Timeline item it will look like:
Styling of heading, description, vertical middle bar, auto-increment counter and then items positions left/right all are done inside these components only. We have taken a timeline reference from Super Simple Timeline.