

Acquia Site Studio is a low-code, Drupal add-on available for Acquia subscribers which allows users to create sites using drag and drop Layout Canvas, empowering non-developers in marketing or other departments, designers with little coding knowledge to create unique layouts with fully customizable CSS.
While Site Studio allows users to add custom CSS to each component/element there is currently no way to add JS directly to a component or element or template. This means that if a component needs custom JS, the user will have to write it in the theme’s global JS file which will be included on every page of the site.
This can create problems if two or more components have conflicting JS, and it can also lead to performance and security issues since even though a component appears on just a few pages, the JS code related to it is included on every page. In this article, we will explore how to create a custom element that can add a custom library to any component/template.
Let’s get into it!
1. Setting up files
1.1 Creating/Editing custom module
Let's start by finding a home for our custom element's files, for this, you can either use your existing custom module or create a new one.
1.2 Adding dependency
For creating a custom element, our module should have cohesion in the list of dependencies.
Let's go ahead and make changes to the info.yml file of our module.
1.3 Creating required files
Our custom element file should be placed in the src/Plugin/CustomElement directory, so the directory structure looks like this:
2. Creating a custom Site Studio element
2.1 Setting up the class
We can create a custom Site Studio element by extending the CustomElementPluginBase class.
2.2 Adding methods
There are two methods we need to override to create our element:
- getFields()
- render()
As the name suggests, the getFields() method returns fields that are needed to build this element, and the render() method returns a render array of the element.
Here we have added a text field to accept the name of the library to be attached.
The values that we accepted in fields created by getFields() method can be retrieved from the $element_settings array, here we are just retrieving the value of the library field and adding it in the $build render array, and finally returning the $build render array.
You can refer to the full documentation for creating a custom element here.
So our complete code looks like this:
3. Adding our custom element to a component
Now it’s time to see our custom element in action!
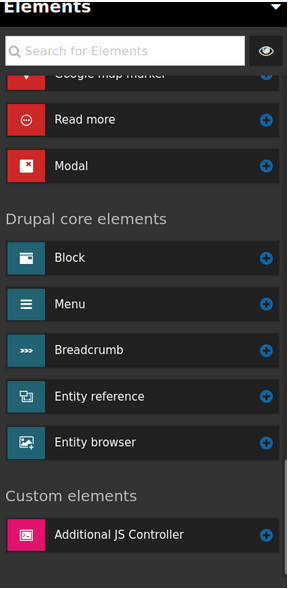
Make sure you have enabled our module, then create a new component or edit an existing one and you should be able to see our custom element in the Custom elements category at the end.
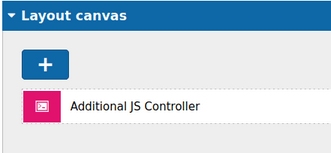
Let's go ahead and add this to our element.
Go ahead and edit the element, and you will see the field created earlier.
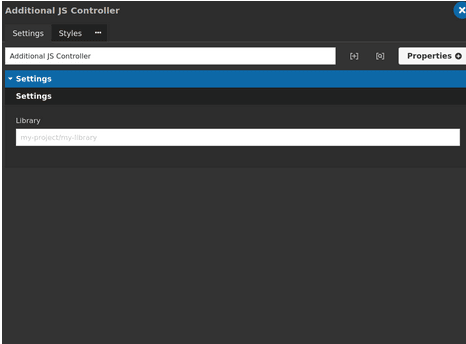
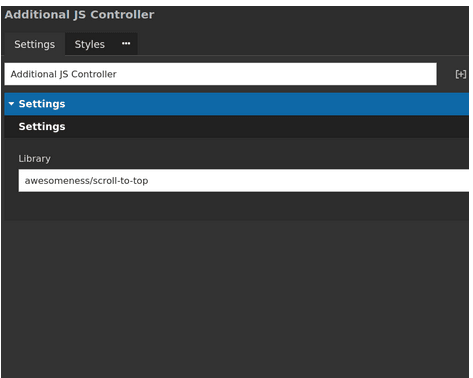
Add the name of your library and save it.
Here we are assuming that awesomeness is a custom theme and its libraries.yml file looks something like this:
You can use the library present in any module or theme.
Et voila! We are done, you should be able to see your JS file in the page source wherever this component is present.
Note: Even though we are primarily focusing on attaching a custom JS library, the same element can also be used to attach custom CSS since Drupal follows the same workflow to attach CSS and JS libraries.