

What is Gatsby?
Gatsby a free and open-source framework based on React, which comes with several data plugins that allow you to pull data from different sources, one of which is the Drupal Content management system. I have been working with Drupal for almost 4 years, and have been a part of several headless Drupal projects. Knowing the efforts it takes to build every page and component on the frontend, it excites me to check the new tool, Gatsby.
Takeaways from this article:
- Understanding Gatsby
- Drupal Integration with Gatsby
- Setting up and creating a sample site using Gatsby and Drupal with JSON:API module
Creating a Headless Drupal site
Let's create a content type called Recipe with following fields:
- Title
- Banner Image
- Summary
- Ingredients
- Steps
- Time to prepare
- Tags
This is how the content creation form will look like:

Now let's create content and enable the JSON:API module, and then access the <base_url>/jsonapi link to view all available entity, bundles, etc. that will be exposed as rest API using JSON:API module by default.
If you access <base_url>/jsonapi/node/recipe it will list down all the nodes of recipe content type, we will be using the same API endpoint to build our site.
Now we have completed the Drupal part, let us start building the frontend using Gatsby.
Building frontend using Gatsby
Gatsby provides a CLI tool, which helps you build and run your Gatsby application. So let us install the Gatsby CLI tool.
Installing a new site using the Gatsby CLI tool.
Above command will create a new folder named cookbook-site with the default starter kit provided by Gatsby.
Gatsby also provides you a development server which will host your local site using Gatsby CLI. To start your local site, get into your site directory and start the development server.
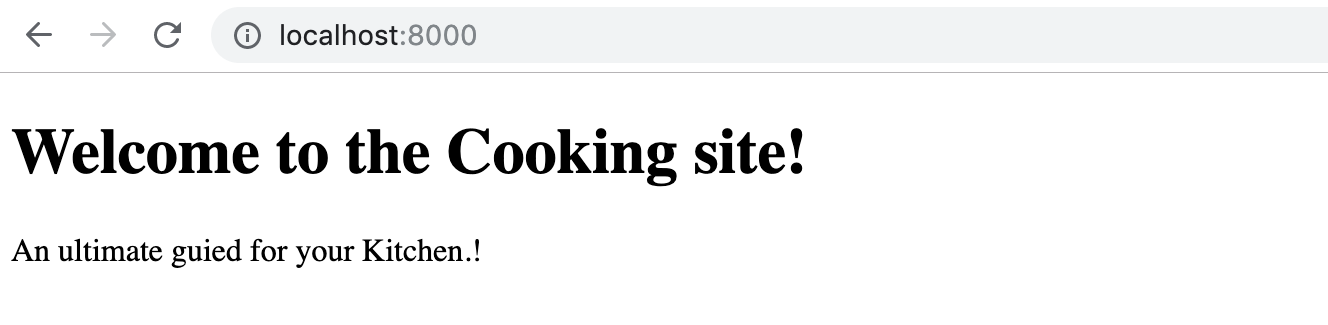
It will compile your project and host your local site at port number 8000, this is how your site should like.

Now open /src/pages folder in your directory, this folder contains the files which will be served as a webpage. Open /src/pages/index.js which is your current homepage showing Hello World!
Let us update the content on the homepage( /src/pages/index.js) with the following code to check how it works.
Now the webpage will look like this:
Now let us create a new page were all recipes will be listed, create a new file - recipes.js inside /src/page/. This page will list down our all recipes; add following code to it:
Now let us visit and verify the page. Access - http://localhost:8000/recipes on your browser, the page should look like:

Here we have not created any routes, Gatsby does is automatically for you and loads the page from /src/page/
Fetching Drupal Data
To fetch the data from API we will be using the Gatsby plugin and GraphQL. GraphQL server can be accessed at http://localhost:8000/_graphql
But before we begin with GraphQL we need to add the Drupal plugin of Gatsby.
This will add a plugin provided for Gatsby to access data of headless Drupal, once we have the plugin, we need to configure it to start using it. To configure the plugin you need to add the following code in the gatsby-config.js
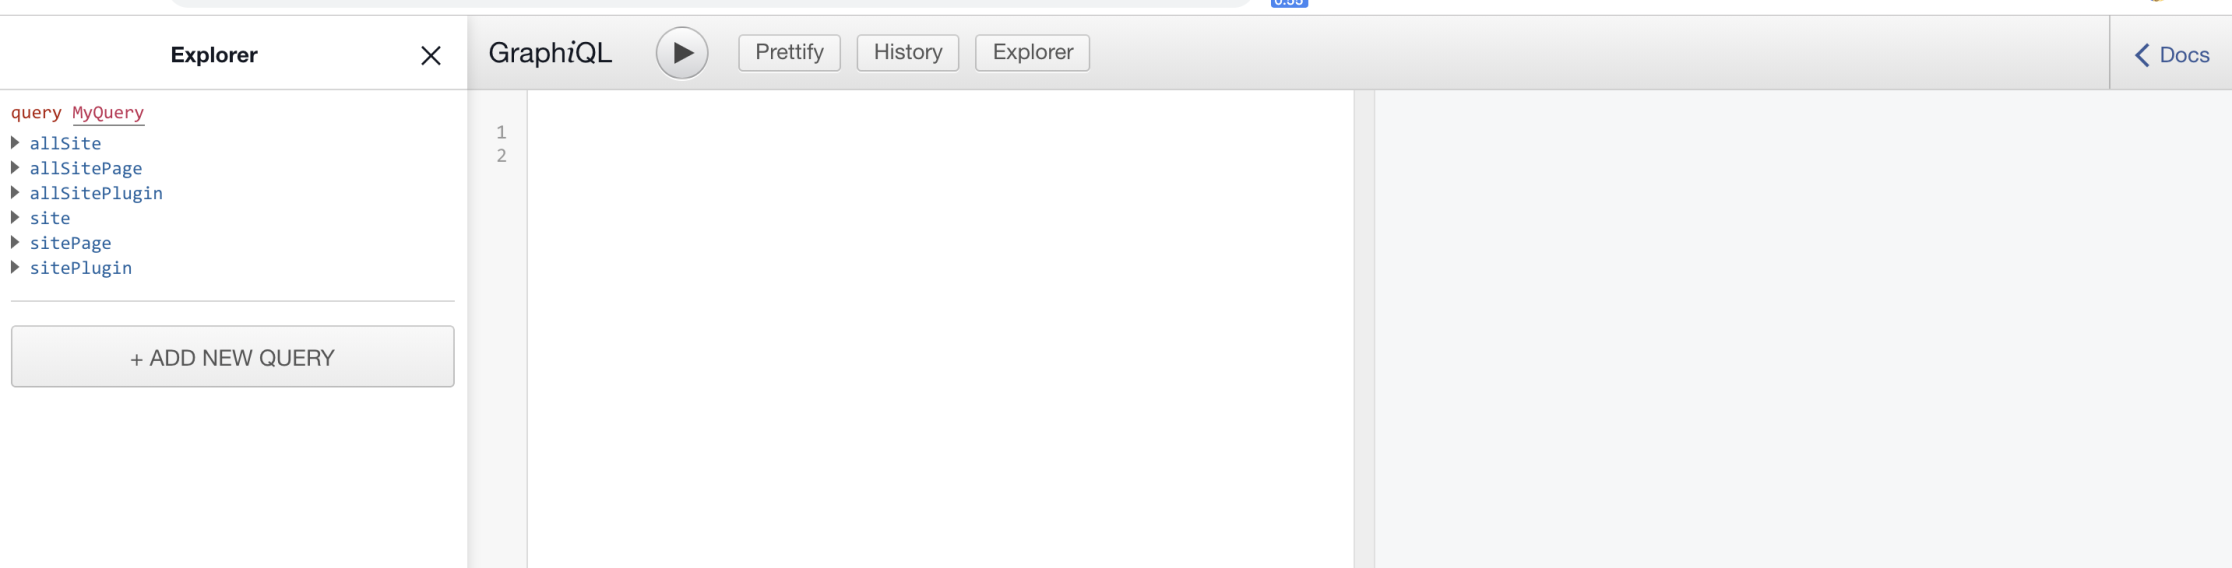
Once you add above code, just restart the Gatsby server. (gatsby develop). After restarting the server visit http://localhost:8000/_graphql and you will see data been fetched from Drupal.
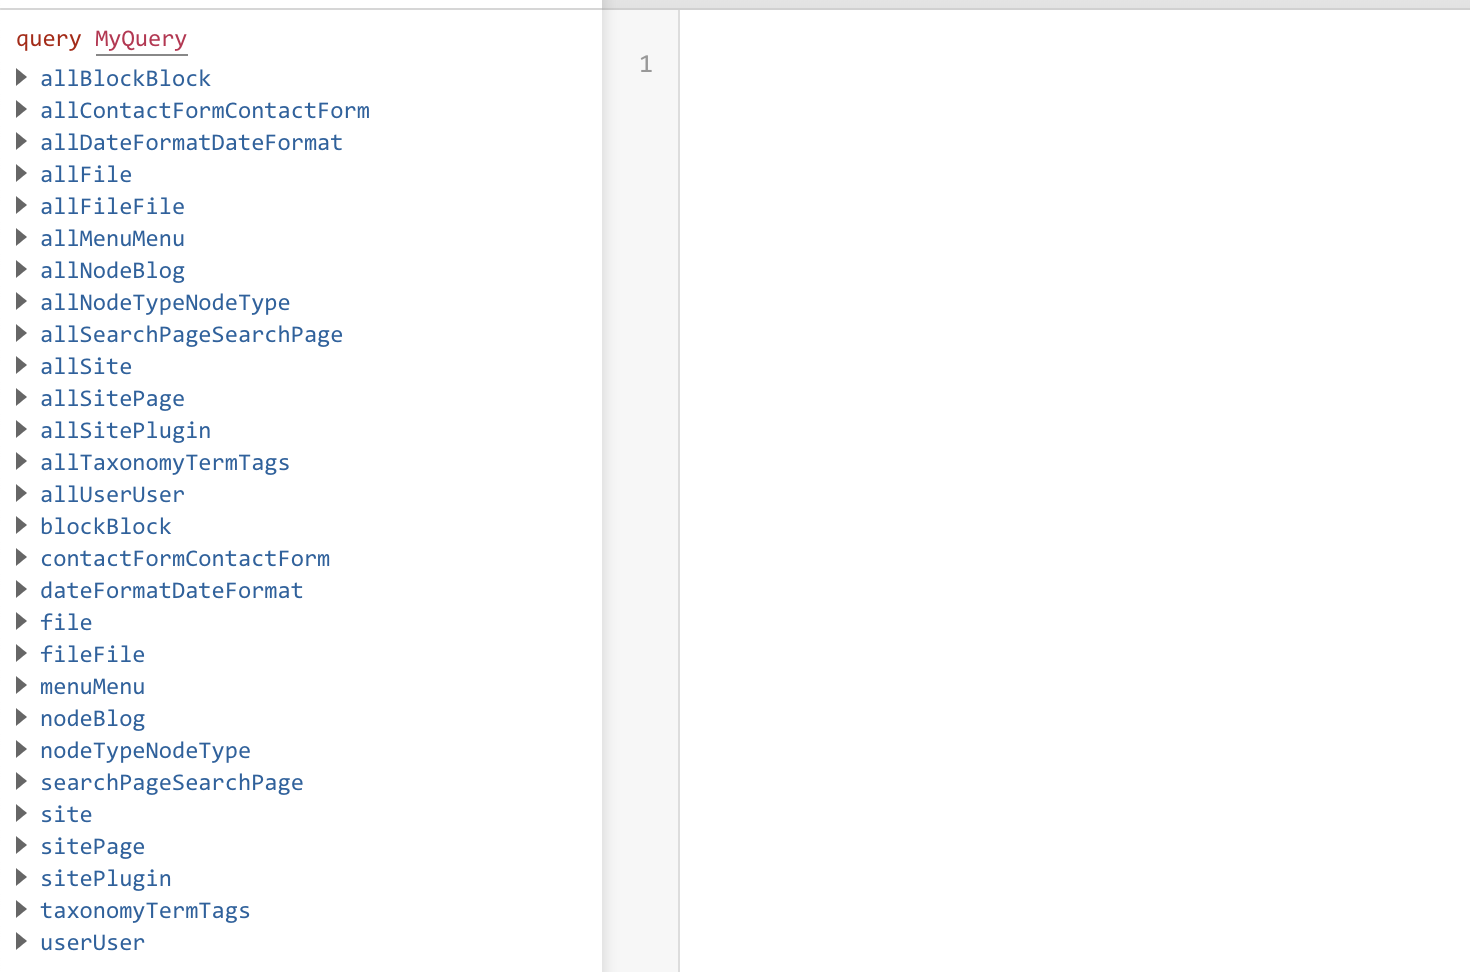
You will see the nodes of the recipes content type allNodeRecipes which will list node of recipe content type and nodeRecipe which will show you particular node with given node id. Now lets us start writing GraphQL queries and integrate it with our application.
First, we will write GraphQL query in which we will retrieve following fields to display it on our listing page /recipes
- Title
- Summary
- Banner Image
- Authored By
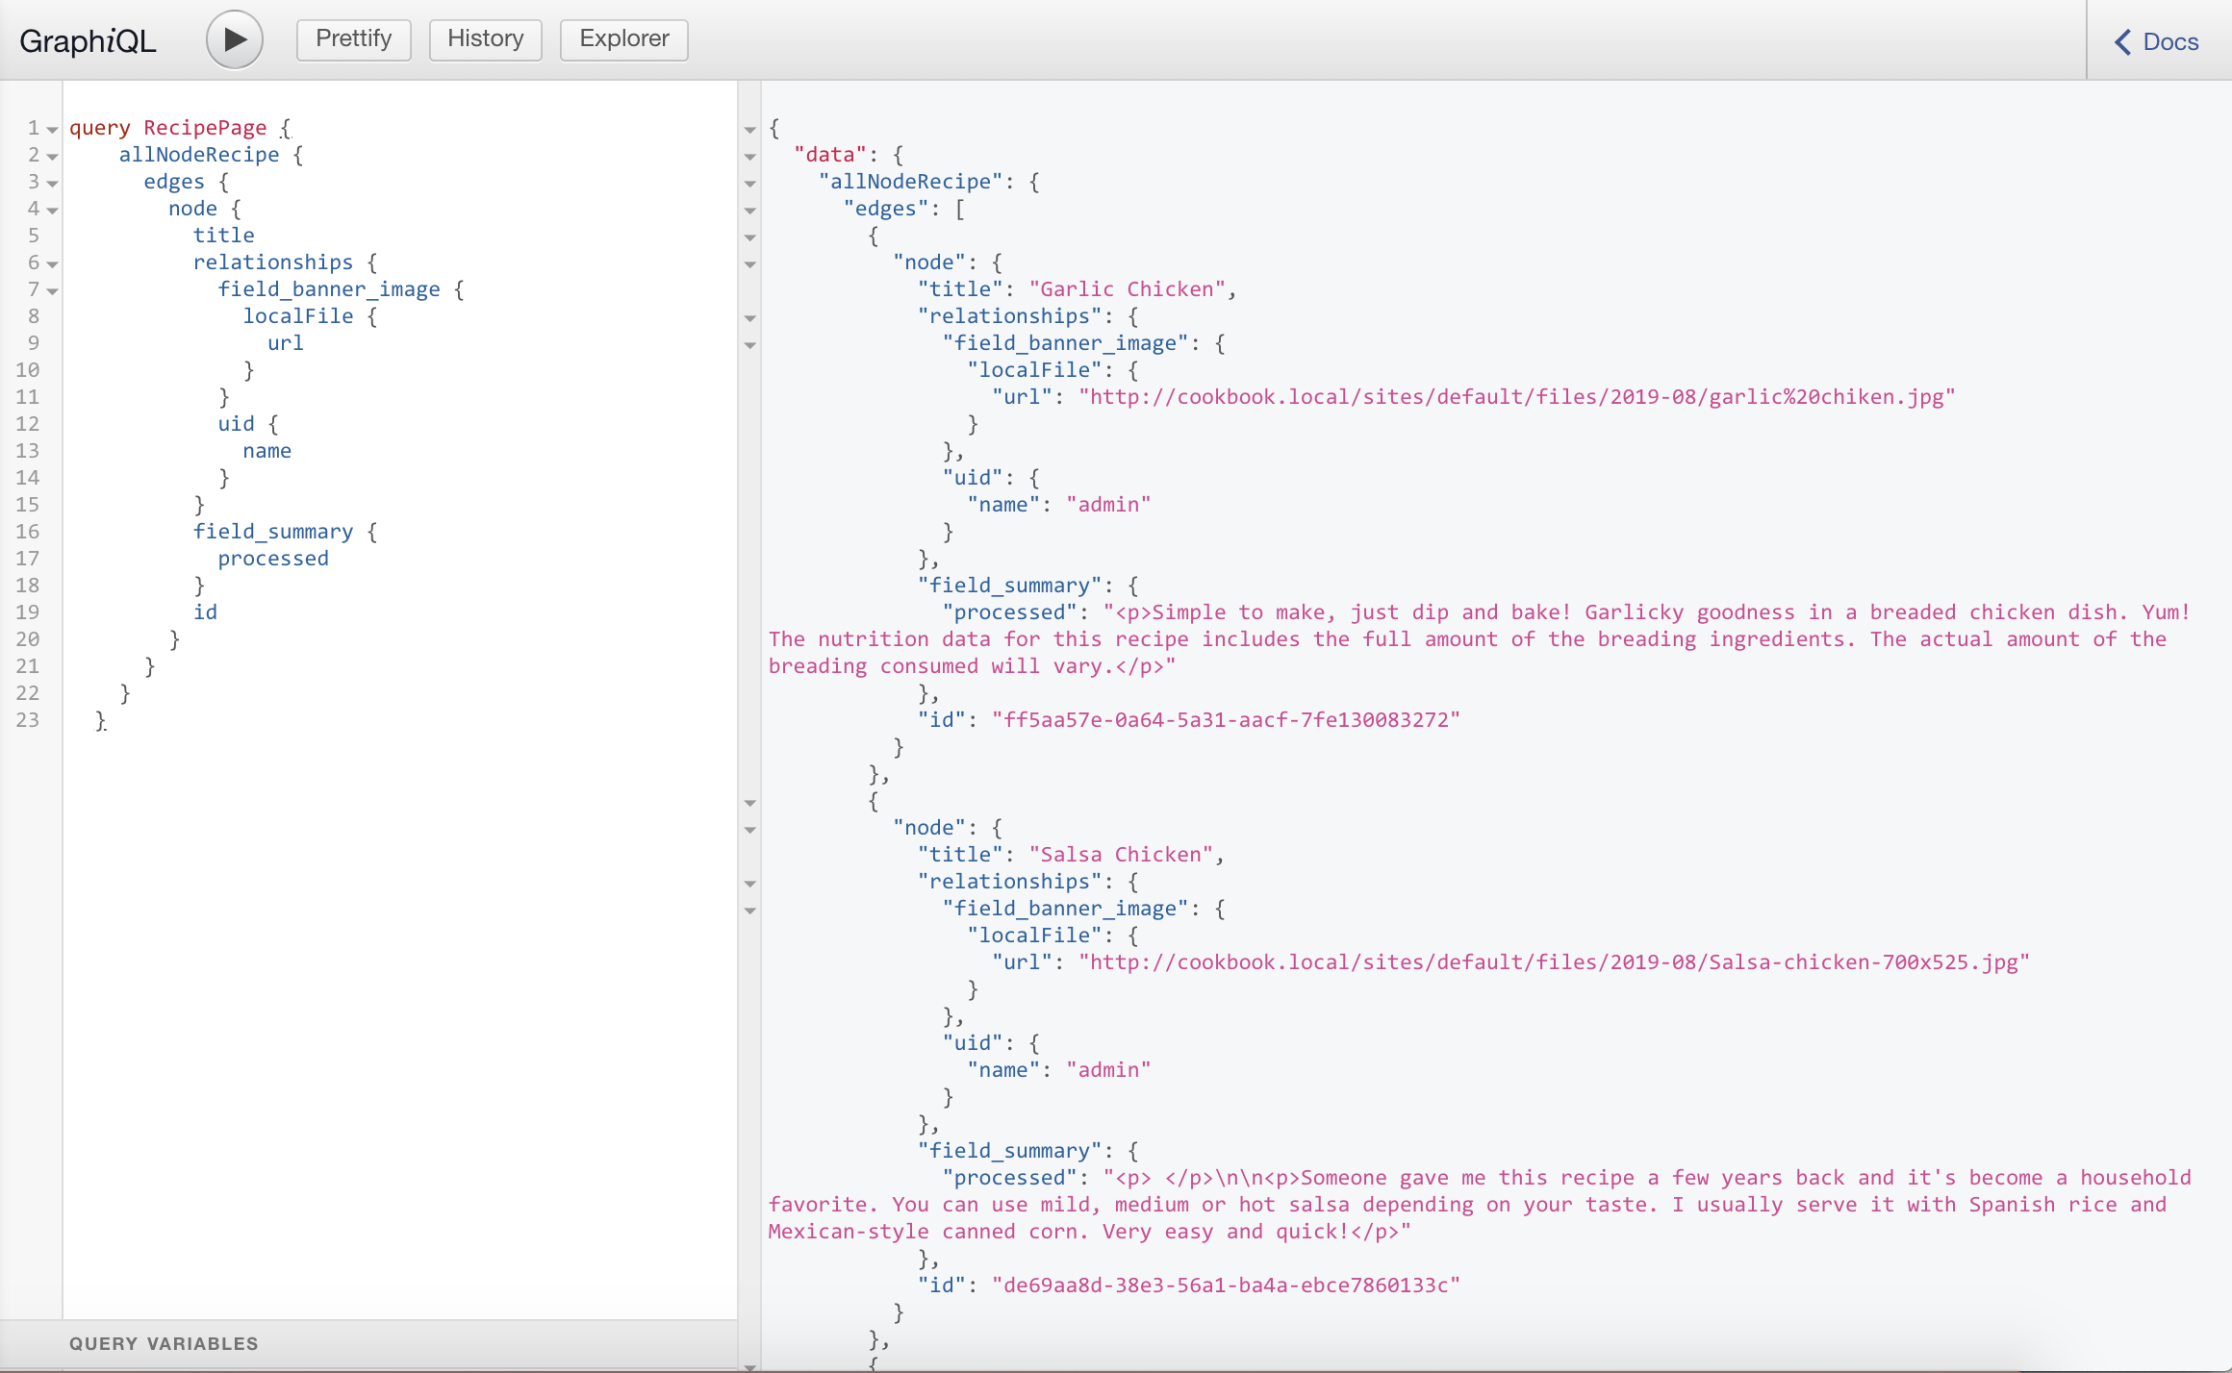
Selecting appropriate fields using GraphQL explorer will auto-generate a query for you. Here is the query which will provide us the above-required data.
On executing the above query in GraphQL it will show you the list of all recipes and its data for selected fields.
Now let is start creating /recipes page. We will have to update our existing /src/pages/recipes.js file, which will include a GraphQL query and HTML components rendering the data fetched using GraphQL query. Update the recipes.js with following code.
As shown in the above code we have used the GraphQL query which was created earlier and those results are accessible to the React components. Note that the <Link> component used in the code is a Gatsby component which is used to access the internal pages. Following is how our Page will look like:

Wohh.!! Site is using Drupal data now. Now let us add some styling to it. Create a folder named styles inside /src directory and then create a file inside /src/styles called global.css and add following code to it.
Now to let Gatsby know about your CSS file, create a file called gatsby-browser.js in the root directory and import the CSS file by adding the following code to the file.
After doing this restart your Gatsby server by executing gatsby develop and your site should look like this:
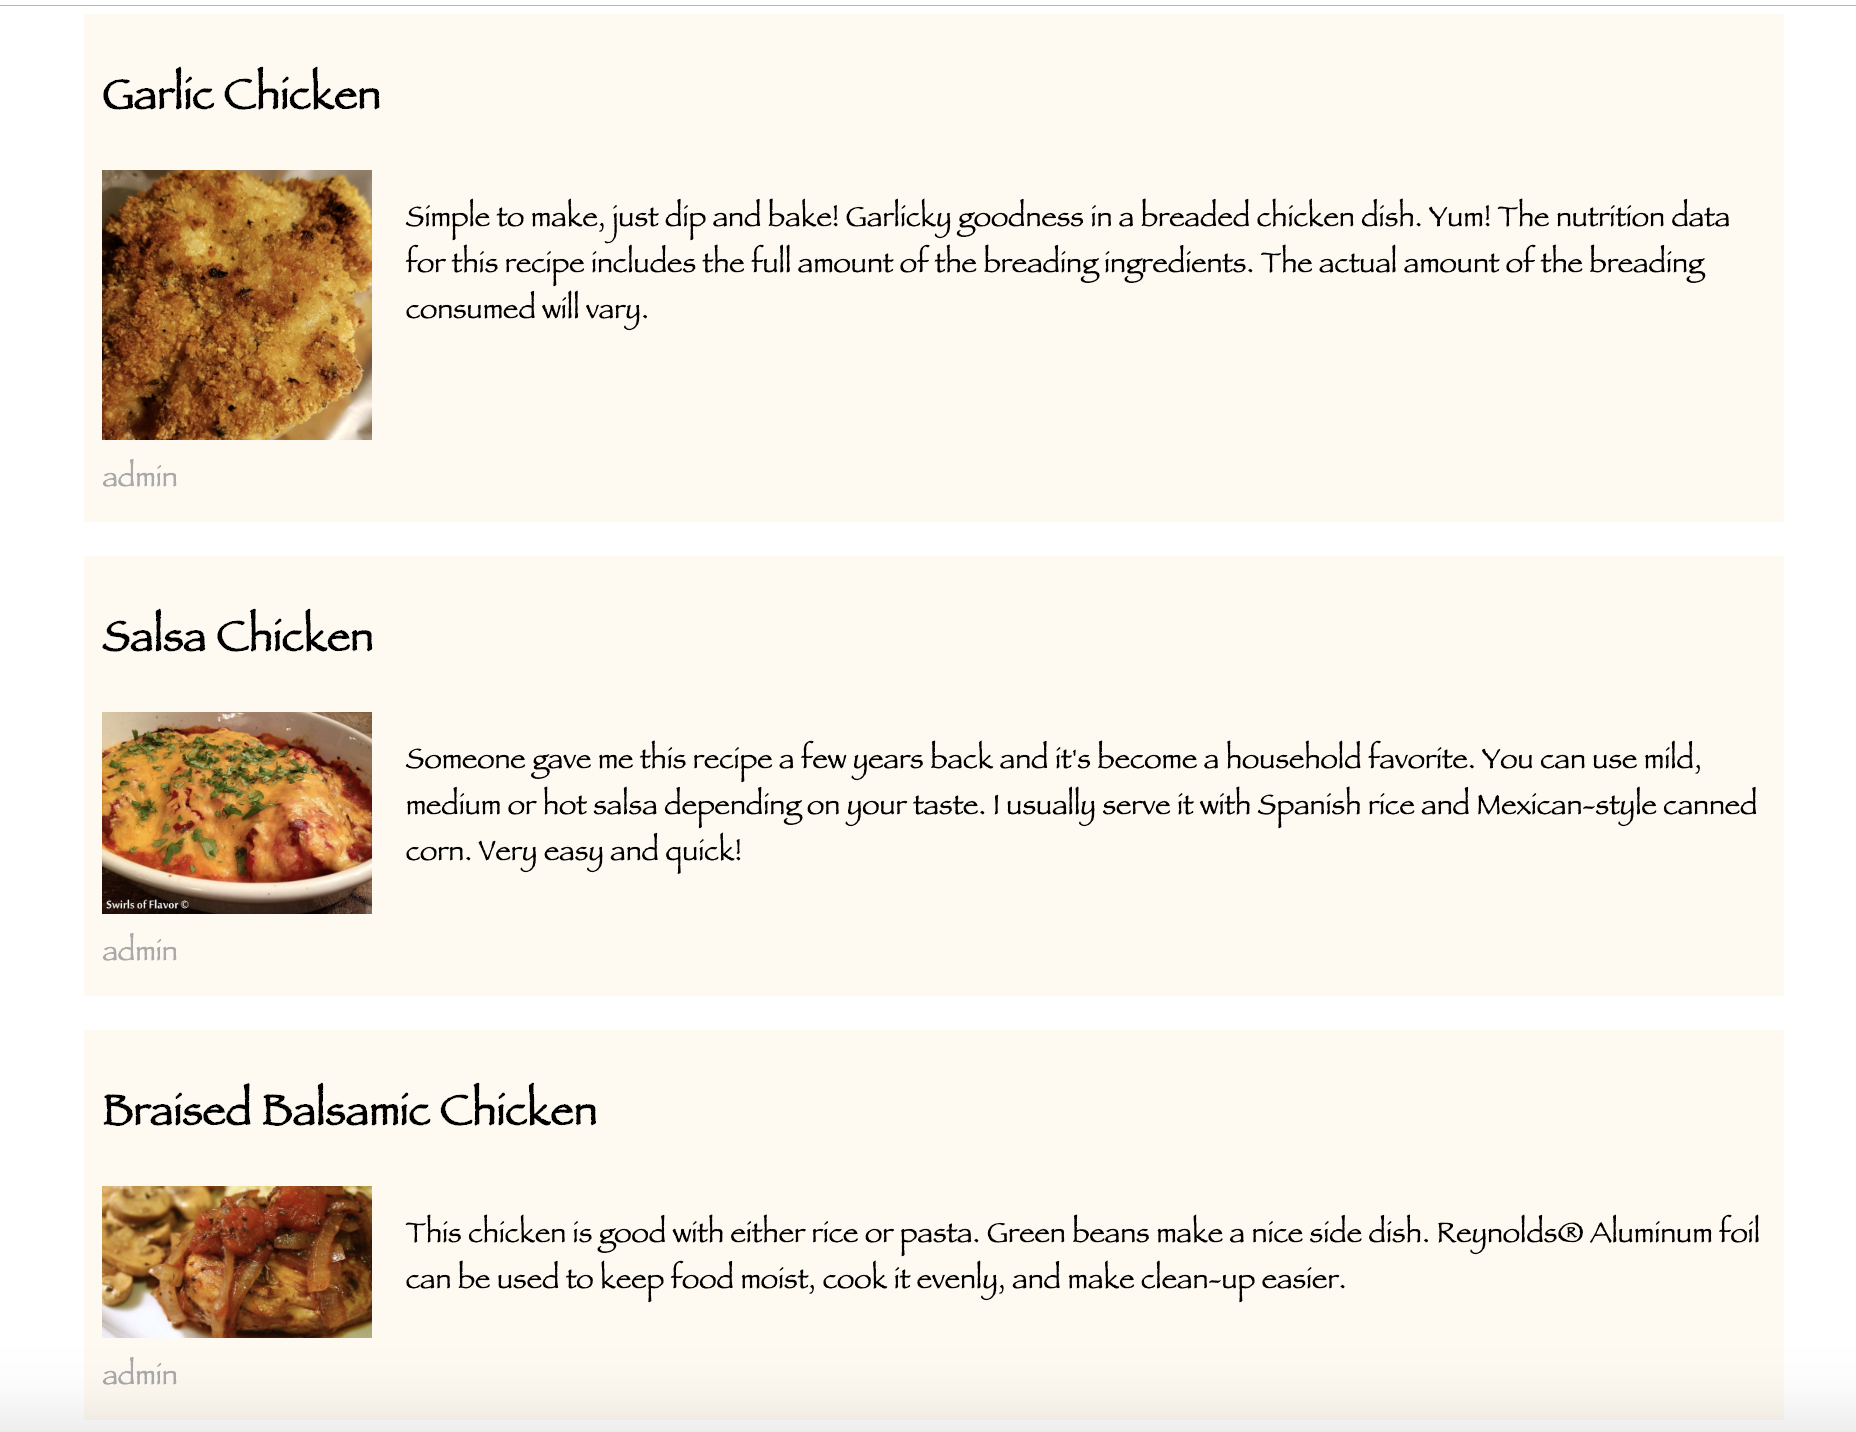
Yeah! Wasn't that simple?
I will be sharing the Dynamic page creation using Gatsby in Part 2 of this blog series. Stay Tuned! For more information around Gatsby and Headless Drupal you can write to us at business@qed42.com.